
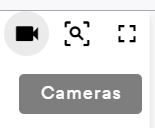
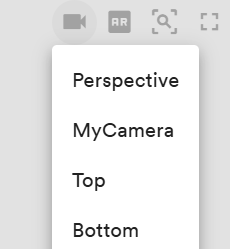
By default, a ShapeDiver model includes a set of default orthographic cameras (Top, Bottom, Left, Right, Front, Back) and a perspective camera. Users in the model view page and Apps can switch between them using the Camera button on the viewer canvas:
The Camera settings panel can be used to:
-
Hide or show the default orthographic cameras.
-
Add or remove other custom cameras in the scene.
-
Edit the settings of each custom camera added to the scene.
Disable default cameras
Use the toggle at the top of the section in case you would prefer hiding the default orthographic cameras from the canvas menu. If you enable this, only the cameras defined below in the settings panel will be shown in the model/App.
Custom cameras
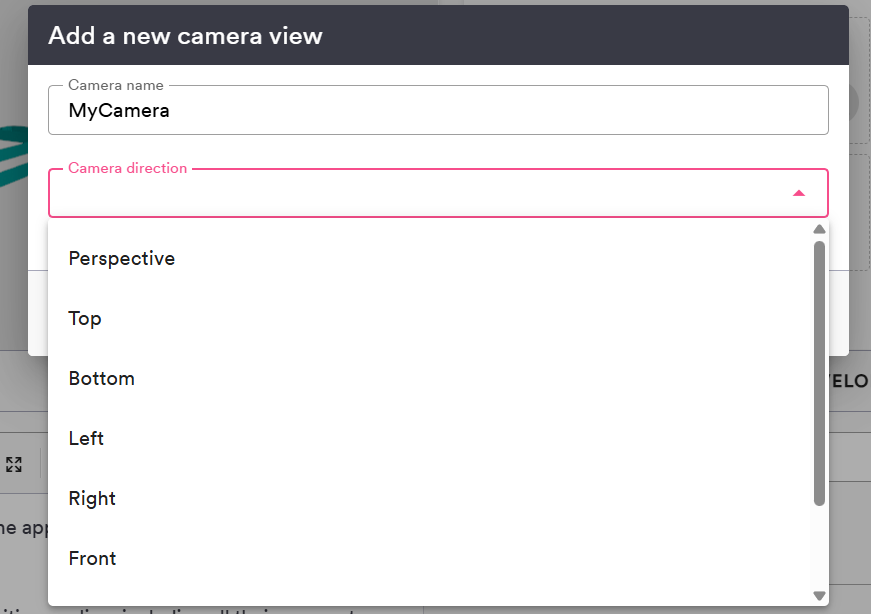
After uploading a model, the viewer automatically includes a first custom camera called “Perspective”. It is possible to create other custom cameras and add them to the scene. In order to do this, click on the “+” button at the top of the section. A dialog opens, allowing to define a name for the new camera, as well as its type:
After clicking on Save, the camera is added to the scene. Specific settings of the camera can be further edited by unrolling the corresponding accordion menu.
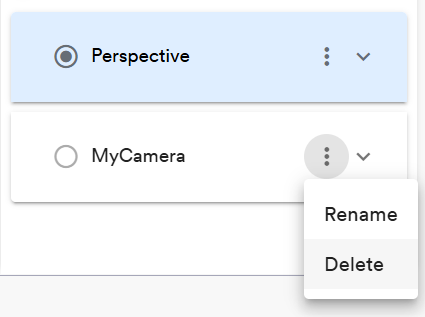
Note that at least one custom camera needs to be present in the scene. As a consequence, a custom camera can only be deleted from the list if at least another one is present. Additionally, a camera can only be deleted if it is not currently active in the viewer (selected, blue accordion):
Edit a single camera
Renaming
Use the context menu of a specific camera to rename it. The name of the camera is the one that will help users identify it in the list of options of the viewer:
Editing the position
In order to edit the default position of a specific camera, make sure it is the currently active one in the viewer (radio button selected). You can then update the position in the 3d scene by zooming, panning and rotating as desired. Once the camera is in the desired position, you will notice a reload button appearing on the corresponding accordion menu:
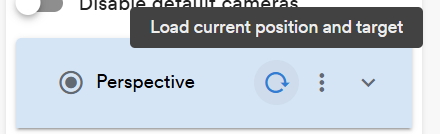
Click on this button to update the associated default position of the camera. Like for other camera settings, make sure to save the model afterwards in order to apply the setting.
The first time you edit your model (right after uploading it to the platform), clicking on Save will automatically use the current position of the active camera as the default one.
Editing other camera settings
In order to update the configuration of a specific camera, unroll the accordion element to list the options attached to it. Find the list of options below.
|
Option name |
Description |
|---|---|
|
View |
Switch between a perspective camera or one of the orthographic preset options. |
|
Field of view |
Camera frustum vertical field of view, from bottom to top of view, in degrees. |
|
Disable zoom |
Enable or disable zooming in the viewer when scrolling (desktop) or pinching (touch screens). |
|
Zoom speed |
Speed of the camera movement during zooming interactions. Normalized value between 0 and 1. |
|
Disable pan |
Enable or disable panning in the viewer when dragging with the right mouse button (desktop) or three fingers (touch screen). |
|
Pan speed |
Speed of the camera movement during panning interactions. Normalized value between 0 and 1. |
|
Disable rotation |
Enable or disable rotations in the viewer when dragging with the left mouse button (desktop) or one finger (touch screen). |
|
Rotation speed |
Speed of the camera movement during rotations. Normalized value between 0 and 1. |
|
Auto rotation |
Define the direction and speed of the camera auto rotation. By default, the camera does not autorotate (value 0). Negative values triggers a clockwise rotation around the Z axis while positive values define an anti-clockwise rotation. The speed is controlled by the amplitude of the value. |
|
Damping factor |
Define how fast the camera movements are attenuated after a camera movement (zoom, pan, rotation). Lower values of the damping factor imply long residual camera movements after interactions while higher values cause the movement to slow down and stop faster when the mouse or touch is released. |
|
Zoom factor |
The distance between the camera and its target (by default the center of the scene) will be multiplied by this value. |
|
Camera adjust |
When changing parameters, the scale and position of the objects in the scene can change significantly. When this setting is active, the camera automatically adjusts the position and target of the camera after parameters are changed. |
|
Adjust duration |
Duration (in milliseconds) of the camera movement after the camera is adjusted (automatically if "Camera Adjust" is active or through an update call). |
|
Camera revert |
When this setting is active, the camera will return to its default position after any mouse or touch interaction with the viewer. |
|
Revert duration |
Duration (in milliseconds) of the camera movement after the camera is reverted. Only used when "Camera Revert" is active. |
|
|
|